记录这些过程只是为了让以后再做的时候更快一些,因为在最早自己摸索的时候还是花了不少时间的。
使模型变小的方法
1. 加载模型到meshlab;
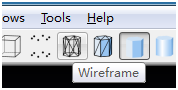
2. 点击wireframe按钮,显示网格图;
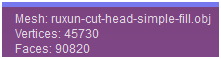
比如鲁迅像,当前显示的点个数为45730。
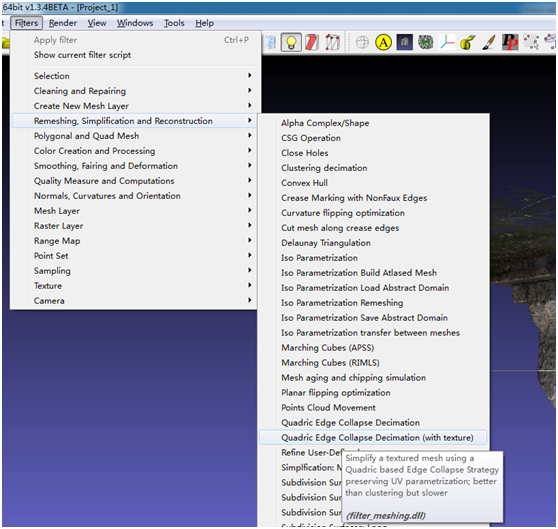
3. 如下图所示,点击Quadric Edge Collapse Decimation(with texture)按钮(这里要注意,如果当前模型使加载了纹理的话就点击有纹理这个选项;如果没有纹理点击上一个选项)。
4. 出现界面如下图所示:
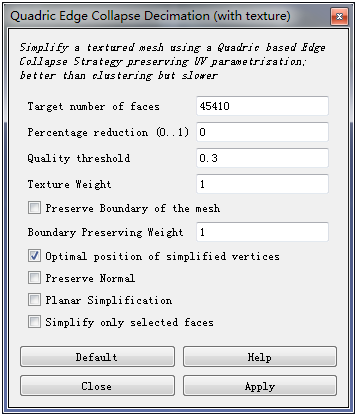
在这里我们一般把Quality threshold设为0.9,即输出高质量的模型;设置Percentage reduction为0-1之间,这里我们设为0.2,即只保留20%的点;然后勾选Preserve Boundary of the mesh,再勾选Preserve Normal,最后点击Apply,再点击Close。
5. 这时候发现:
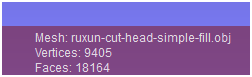
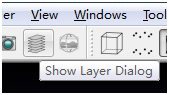
点已经减少到了原来点的20%。点击Show Layer Dialog,
右击下面项目,
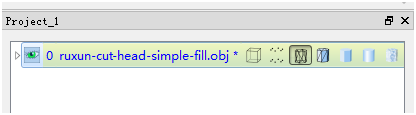
单击Freeze Current Matrix,最后再点击保存。
生成纹理模型的方法
1. 用Visual sfm导入cmp.nvm(稀疏点云),点击CMVS稠密化,在指定的生成目录中找到bundle.rd.out(稀疏点云+相机参数),用meshlab打开,导入list.txt。
2. 在meshlab中点击Show Layer Dialog,右键选择delete current mesh。
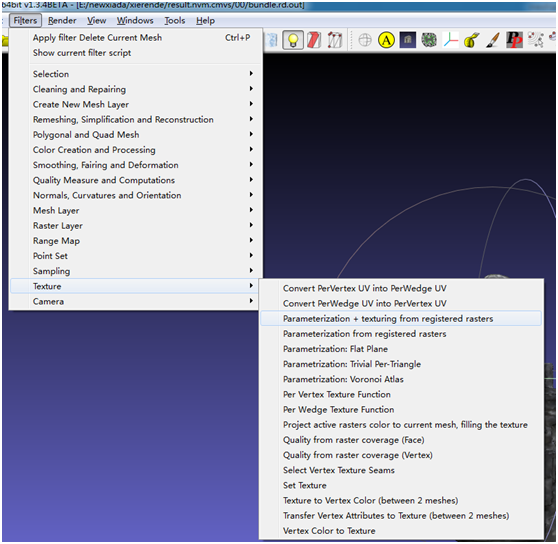
3. 不要关闭meshlab,在当前meshlab中导入模型,然后选择Parameterization+texturing from…如下图所示:
4. 跳出设置图如下:
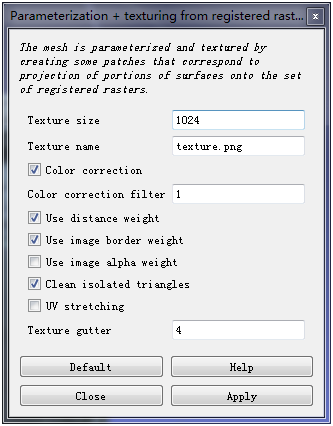
Texture size 可以自己设置,用来保存纹理的精细程度。然后依次Apply–>Close。
5. 最后记得Freeze Current Matrix,再保存关闭。这样,模型的纹理图片就生成了。
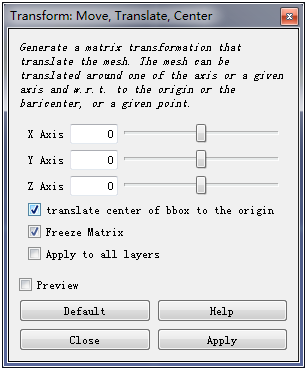
调整模型到世界坐标系原点的方法
1. 加载模型到meshlab,选择Filters–>Normals,Curvatures and Orientation–>Transform:Move, Translate, Center,出现下图: